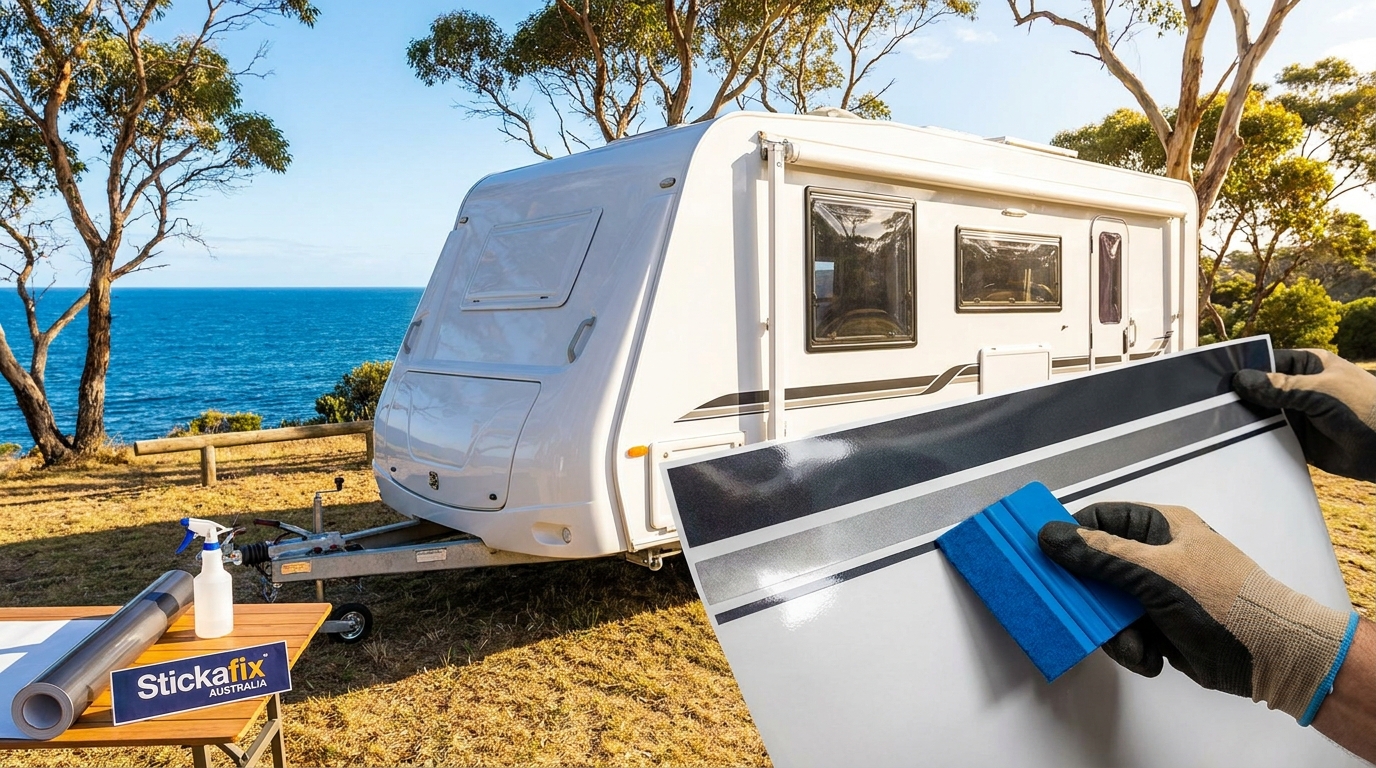
Heading out on the open road is a quintessential Australian dream. But if your rig is sporting faded, peeling, or outdated caravan stripes, it might not look as spectacular as the scenery you are parked in front of. Replacing old caravan decals is one of the most cost-effective ways to modernise your setup before your next big trip.
Upgrading your motorhome graphics does not require a trip to an expensive detailing shop. With a bit of patience, the right tools, and premium German-engineered ORAFOL outdoor vinyl, you can achieve a flawless professional finish in your own driveway. Whether you want sleek modern lines or retro swooshes, this guide covers everything you need to know about designing, measuring, and applying caravan stripe decals.
Why Upgrade Your Caravan Stripes and Graphics?
The harsh Australian sun takes a massive toll on factory caravan stickers. After a few years of baking in the heat, traversing dusty outback roads, and enduring coastal salt spray, standard RV graphics often crack and fade. Upgrading to custom caravan decals breathes new life into your vehicle. It is a fantastic way to cover up ghosting left by old factory stickers, match the aesthetic of your new tow vehicle, and add a personal touch to your home on wheels.
Choosing the Right Caravan Decal Design and Colours
Your caravan is a large blank canvas. When choosing new caravan vinyl graphics, consider the overall shape of your van. Sweeping, angled stripes tend to make a bulky caravan look longer and more aerodynamic. Straight, thick block stripes give an off-road or industrial feel that pairs perfectly with modern hybrid campers.
Colour choice is just as critical. Dark colours absorb heat, which can slightly reduce the lifespan of the vinyl on north-facing panels if neglected. Metallic finishes or high-contrast combinations like charcoal and silver look brilliant against standard white fibreglass or aluminium cladding. If you need help visualising your options, check out our guide on choosing decal colours to ensure your new caravan stickers pop.
How to Measure Your Caravan for Custom Stripes
Accurate measurements are the secret to perfect caravan decal installation. Caravans are rarely perfectly flat. You need to account for wheel arches, doors, windows, vents, and utility hatches.
Start by taking a photo of the side of your van from completely square on. Print this out and use it as a map. Grab a flexible tape measure and masking tape. Run the tape measure along the exact path you want the caravan stripes to follow. Use small pieces of masking tape to mark out the top and bottom edges of where the stripe will sit. This helps you step back and see the physical lines before ordering.
When ordering or cutting your vinyl, always add an extra 10 to 15 centimetres to your total length. This gives you plenty of wiggle room to trim the edges neatly around wheel arches and doors. For more detailed tips on getting your numbers right, read our full article on measuring for vinyl decals.
Preparing the Surface for Caravan Vinyl Graphics
Preparation is the most critical step. New vinyl will not stick to wax, grease, or leftover adhesive. If you have old motorhome graphics on the van, you need to remove them safely first. A heat gun on a low setting will help soften the old vinyl. Peel it back slowly at a sharp angle. If you encounter stubborn glue residue, a citrus-based adhesive remover or eucalyptus oil works wonders. You can learn the best techniques in our guide on removing old vinyl decals.
Once the old stickers are gone, wash the entire area with a mix of warm water and a few drops of dish soap. Avoid wash-and-wax products, as the wax creates a barrier that ruins adhesion. Finally, wipe the surface down with isopropyl alcohol and a clean microfiber cloth. The surface must be squeaky clean and completely dry before you begin the caravan decal installation.
Step-by-Step Caravan Decal Installation
Applying long caravan stripe decals can feel daunting, but using the wet application method makes it incredibly manageable. The wet method gives you time to slide the decal around and position it perfectly before the adhesive grabs the surface.
Step 1: Create your slip solution. Mix one litre of water with just two or three drops of baby soap or mild dish detergent in a clean spray bottle.
Step 2: Position the decal. Use masking tape to temporarily hold the stripe on the van. Step back and check that it is level and straight. Once you are happy, create a tape hinge in the centre of the decal.
Step 3: Wet the surface. Peel back one half of the backing paper. Spray the sticky side of the vinyl and the caravan surface generously with your slip solution.
Step 4: Lay the vinyl. Gently lay the wet vinyl down onto the wet surface. Because it is wet, you can slide it slightly to align perfectly with your tape marks.
Step 5: Squeegee the water out. Grab a felt-edged squeegee. Starting from the centre hinge and working outwards in overlapping strokes, push the water and air bubbles out from under the vinyl. Apply firm pressure. Once the first half is done, remove the tape hinge and repeat the process for the other half.
Step 6: Let it dry and trim. Wait at least 30 to 60 minutes for the water to evaporate before carefully peeling away the clear application tape at a flat 180-degree angle. Finally, use a sharp craft knife to trim the stripe around doors, windows, and panel gaps. If you need a refresher on these steps, jump over to our comprehensive guide on how to apply vinyl decals.
Adding Custom Caravan Lettering and Names
No rig is complete without a name. Giving your home on wheels a personality is a long-standing Australian tradition. Whether you are naming your van after a favourite destination, an inside joke, or just putting your family name on the back, custom caravan lettering adds the perfect finishing touch.
You can easily create your own custom text decals using our custom text designer. Simply type your chosen caravan name, pick a font that matches your new stripes, select a colour, and adjust the size to fit perfectly between your taillights or above the rear window. Our ORAFOL vinyl ensures your text will look crisp and vibrant for years to come.
Maintaining Your New RV Graphics
Our German-engineered ORAFOL vinyl is designed for the outdoors and typically lasts between 5 and 10 years with proper care. To get the maximum lifespan out of your new caravan graphics, try to park under cover or in shaded areas when the van is not in use. Wash your rig regularly with a mild detergent and a soft sponge to remove road grime, bird droppings, and salt build-up. Avoid using high-pressure washers directly on the edges of your vinyl graphics, as the extreme force can lift the material over time.
Ready to Refresh Your Rig?
Updating your caravan stripes is a rewarding weekend project that instantly boosts the look and value of your setup. By taking the time to measure correctly, clean the surface thoroughly, and apply the decals with patience, you will achieve a result that looks fresh out of the showroom.
If you are looking for smaller decals to complete the look, browse our premade shop for a huge range of high-quality outdoor stickers. Safe travels, and happy sticking!