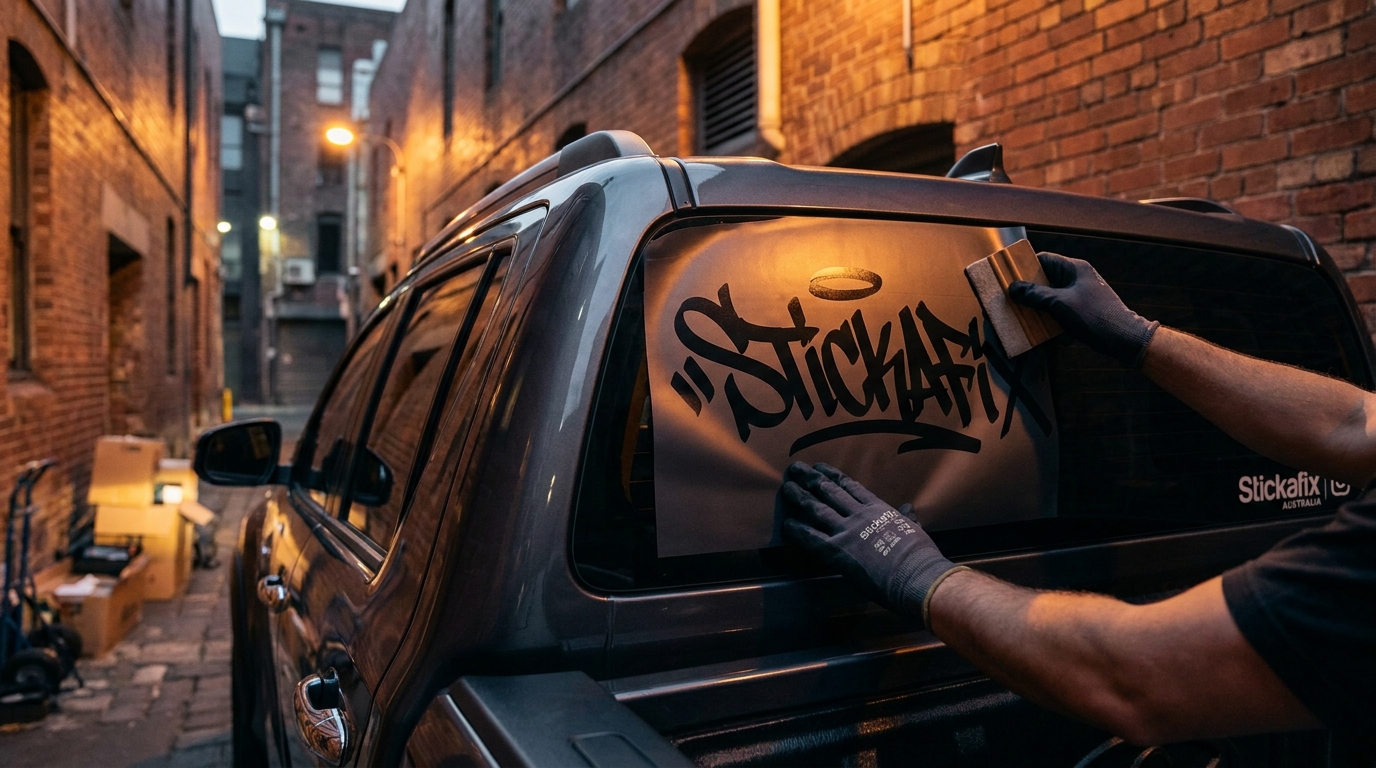
Custom graffiti stickers are one of the fastest ways to get your name, tag or artwork out into the world without a spray can in hand. Whether you paint legal walls in Melbourne laneways, run a design studio, or just want your handle cut in bold vinyl for the back window of your ute, the same rules apply: strong letterforms, high contrast, and material that survives Australian sun. This guide walks through graffiti sticker design, style choices, material options and application, plus the legal side of where those stickers can actually go.
Graffiti styles that translate well to stickers
Not every piece works at sticker scale. A full burner that reads beautifully on a 6 metre wall can turn into mud at 100mm wide. Think about how the shape reads from two metres away, because that is the real viewing distance for a sticker on a window, a laptop lid or a toolbox.
- Tags and handstyles: single-stroke, flowing, and perfect for long thin stickers. These are the easiest to cut in vinyl because they are usually one colour.
- Throw-ups and bubble letters: chunky outlines with a fill. Great readability, and they hold up small.
- Blockbuster and bold block: heavy rectangular letters. Extremely legible, ideal for vehicle panels and windows.
- Wildstyle: interlocking arrows, bars and overlaps. Stunning, but it needs printing rather than cutting once the detail gets fine.
- Stencil and street poster style: high-contrast shapes with hard edges. Works brilliantly as single-colour cut vinyl.
- Characters and mascots: add personality alongside lettering. Usually printed because of shading and multiple colours.
If you are new to designing for stickers, start with a throw-up or blockbuster version of your name. Simplify first, then add complexity once you know how the shape behaves at real size.
Hand-drawn versus digital artwork
Both routes work. Hand-drawn sketches carry the energy that makes graffiti feel alive, and plenty of the best sticker art starts on a blackbook page or a paint marker outline. The catch is that a photo of a page is not print-ready. Scan or shoot it flat, in even light, at the highest resolution you can, then clean up the edges.
Digital work gives you cleaner results and easier scaling. Vector artwork (paths rather than pixels) is the gold standard because it can be enlarged to a bonnet or shrunk to a drink bottle with no loss. If you draw on a tablet, keep your canvas large and export at 300dpi minimum.
Preparing artwork for cut vinyl
Cut vinyl means the shape is knifed out of coloured film, so there is no printed background. Every element needs to connect or sit as its own island. Floating dots inside a letter, hairline drips and 0.5mm outlines will not survive weeding. Aim for a minimum stroke thickness of around 2mm at final size, and bridge any counters that would otherwise fall out.
Preparing artwork for printed stickers
Printed stickers handle gradients, fades, drips, halos and full-colour characters. Build in a small bleed, keep important detail away from the trim edge, and remember that dark ink on dark surfaces still needs a light outline or a white keyline to pop.
Materials: what actually lasts outside
Street stickers live a hard life. Roof racks, windscreens, marine gear, mailboxes and skate ramps all cop UV, heat, dust and salt air. Cheap paper or thin craft film goes yellow and curls within a season, especially on north-facing panels in Queensland or WA.
Stickafix cuts on German-engineered ORAFOL outdoor vinyl, which with reasonable care gives roughly 5 to 10 years outdoors. It stays flexible through hot and cold cycles, resists fading, and peels cleanly when you eventually want a change. If you want the detail on lifespan and what shortens it, our guide on how long vinyl decals last covers UV, washing and surface prep.
Finish matters too. Gloss reads punchier and suits bright throw-up colours. Matte black gives that flat stencil look and hides fingerprints on glass. On tinted rear windows, white and silver almost always win.
Colour, contrast and readability
Graffiti lives on contrast. On a sticker, contrast is the difference between a piece people photograph and a smudge they walk past. Test your colour pairing by squinting at it or converting to greyscale. If the fill and the outline turn into the same grey, the design will lose its edge at distance.
A few combinations that hold up on vehicles and street furniture:
- White on dark glass, black paint or navy panels
- Black on white utes, silver toolboxes and pale walls
- Fluoro-adjacent brights with a black outline for maximum pop
- Silver or grey for a subtle, tone-on-tone look
If you are stuck between two options, our notes on choosing decal colours break down how paint colour, tint and lighting change what reads best.
Turning your tag into a custom sticker
If your piece is essentially a word, a name or a handstyle-inspired wordmark, the quickest path is the custom text vinyl stickers tool. You pick the wording, font, size and colour, see it live, and order it cut in outdoor vinyl. It is ideal for crew names, studio names, event wording and bold single-colour statements.
Want ready-made urban and novelty designs instead of a custom build? Browse the range of outdoor vinyl stickers Australia wide, where sizes and colours are chosen per design. For car, ute and 4x4 placements, the car and 4x4 decals section is a good starting point.
Application: getting a clean lay every time
Street art may be loose, but application should not be. Bubbles, lifted tips and crooked baselines undo good artwork instantly.
- Clean the surface. Warm soapy water first, then isopropyl alcohol. Skip wax and silicone-based sprays entirely.
- Choose your day. Aim for a surface temperature roughly between 10 and 30 degrees. A panel baking in full Aussie sun will grab the vinyl before you can position it.
- Position with tape. Hinge the decal with masking tape along the top edge, step back, check it against a body line or window edge.
- Squeegee out. Peel the backing away under the hinge and work from the centre outwards in firm overlapping strokes.
- Remove transfer tape slowly. Pull back at a low angle, almost flat against the surface. If a letter lifts, lay the tape back down and re-squeegee that spot.
- Leave it alone. Give the adhesive 24 to 48 hours before washing or high-pressure rinsing.
Complex wildstyle shapes with lots of thin arrows suit the wet method, which buys you repositioning time. The full walkthrough is in our guide on how to apply vinyl decals, including how to rescue trapped air.
The legal side: stick smart
This part matters. Applying stickers to property you do not own or control can be treated as graffiti or criminal damage in Australia, and offences of that kind sit under state and territory legislation. Bus shelters, signs, poles, shopfronts, trains and private fences are not fair game, no matter how good the artwork is.
Places your custom graffiti stickers are genuinely welcome:
- Your own vehicle, ute canopy, van panels, toolbox or trailer
- Laptops, phone cases, skate decks, drink bottles and helmets
- Studio doors, market stall signage and gallery displays
- Merch packs you sell or hand out to fans and clients
- Any surface where the owner has given clear permission, including commissioned walls and legal art spaces
Rules and penalties vary by state and territory. If you are working on a commercial or public project, get written permission from the property owner or council before anything goes up. Treat stickers the same way you would treat paint.
Frequently asked questions
Can I get my own hand-drawn tag cut in vinyl?
Single-colour artwork with reasonable line weight cuts well. Very fine drips, tiny sparkles and hairline outlines need to be thickened or printed instead. If you are unsure, get in touch through the contact page and describe the artwork.
How long will a graffiti sticker last on my car?
On ORAFOL outdoor vinyl, expect around 5 to 10 years with care. Regular washing, avoiding aggressive solvents and keeping the vehicle out of constant harsh sun all help.
Should I choose cut vinyl or printed stickers?
Cut vinyl for bold single-colour lettering, stencil looks and vehicle glass. Printed for multi-colour pieces, characters, fades and full wildstyle detail.
What size works best for a tag on a rear window?
Most rear-window wordmarks look right between 300mm and 600mm wide, depending on the vehicle. Measure the flat area first and mock it up with masking tape before ordering.
Will removing the sticker damage my paint?
Quality outdoor vinyl lifts cleanly with gentle heat and patience. Adhesive residue comes off with a proper adhesive remover rather than a scraper.
Get your artwork on the street, legally
Good graffiti stickers come down to three things: a shape that reads, colour that contrasts, and vinyl that does not fade by summer's end. Simplify your artwork, test it at real size, and put it on material built for Australian conditions. When you are ready, build your wording or have a look through the sticker shop for ready-cut designs. Most orders leave within 1 to 2 business days, with standard Australia Post delivery usually landing in 3 to 7 business days.